 Save to Pinterest
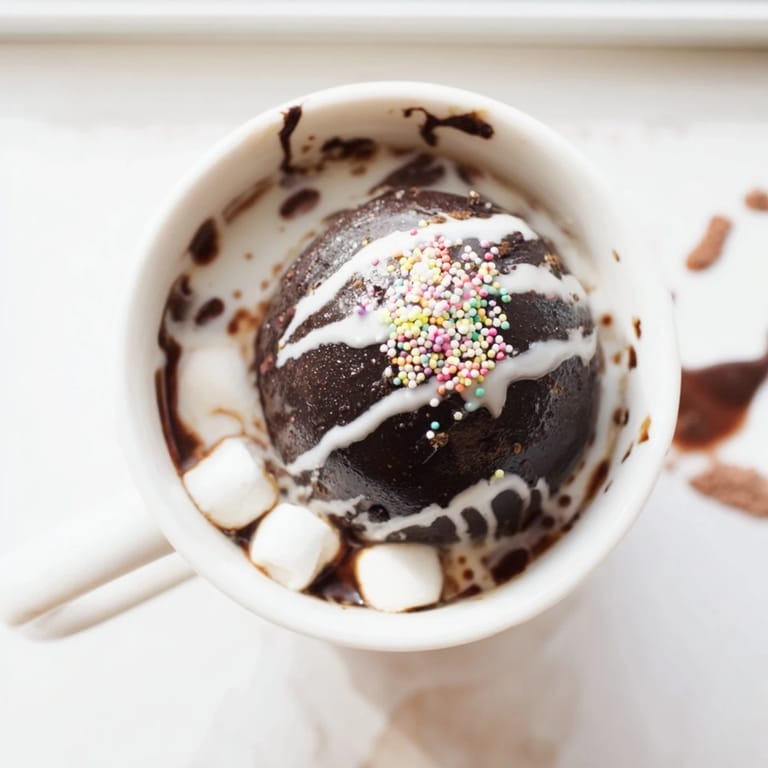
 My daughter burst into the kitchen last winter holding her phone up to my face, showing me a video of a chocolate sphere dissolving dramatically in a mug of steaming milk. She didn't say a word, just raised her eyebrows expectantly. By that afternoon, we had chocolate smeared on every counter and silicone molds cooling in the fridge. The first one cracked when I tried to seal it, but the fourth was perfect, a glossy sphere that made her squeal when it melted open in her mug. I've been making them ever since, each batch a little smoother than the last.
I made a batch for my neighbor after she mentioned having a rough week, and she texted me a photo an hour later of her kids gathered around the kitchen table, eyes wide, waiting for the chocolate to melt. She said it was the first time all three of them had been quiet at once in days. That's when I realized these weren't just a trendy treat, they were little pockets of joy that slowed people down for a moment.
Ingredients
- High-quality dark or milk chocolate: This is the foundation, so use chocolate you'd actually enjoy eating on its own, not baking chips that taste waxy when melted.
- Unsweetened cocoa powder: It dissolves beautifully into the milk and gives the drink that deep, rich flavor without being cloyingly sweet.
- Powdered sugar: Just enough sweetness to balance the cocoa, and it blends in instantly without any graininess.
- Mini marshmallows: They float to the top as the sphere melts, creating that classic hot chocolate moment everyone remembers from childhood.
- White chocolate for drizzling: Completely optional, but a quick zigzag on top makes them look bakery-worthy.
- Sprinkles: Use whatever you have on hand, or skip them entirely if you prefer a cleaner look.
Tired of Takeout? 🥡
Get 10 meals you can make faster than delivery arrives. Seriously.
One email. No spam. Unsubscribe anytime.
Instructions
- Melt the chocolate gently:
- Use a double boiler or microwave in short bursts, stirring between each one until the chocolate is silky and just barely warm to the touch. If it gets too hot, it will seize or leave streaks in your molds.
- Paint the molds:
- Brush or spoon a generous layer of chocolate into each cavity, making sure there are no thin spots or gaps. The shells need to be sturdy enough to hold the filling without cracking.
- Chill and repeat:
- Pop the molds in the fridge for ten minutes, then add a second coat for strength. A double layer makes all the difference when you're handling them later.
- Unmold with care:
- Gently press on the silicone from the outside to release each shell. If they don't pop out easily, chill them a bit longer.
- Fill the halves:
- Spoon cocoa powder, powdered sugar, and a pile of marshmallows into half of the shells. Don't overfill or the halves won't seal properly.
- Seal with warmth:
- Warm a plate for a few seconds, then lightly press the rim of an empty shell onto it to soften the edge. Quickly press it onto a filled half and hold for a moment until it fuses together.
- Decorate and serve:
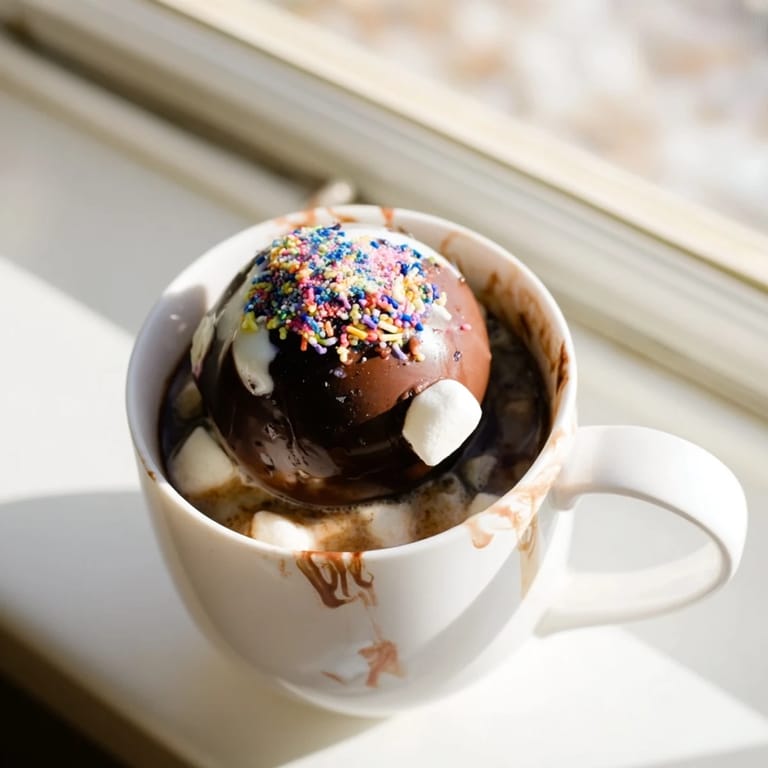
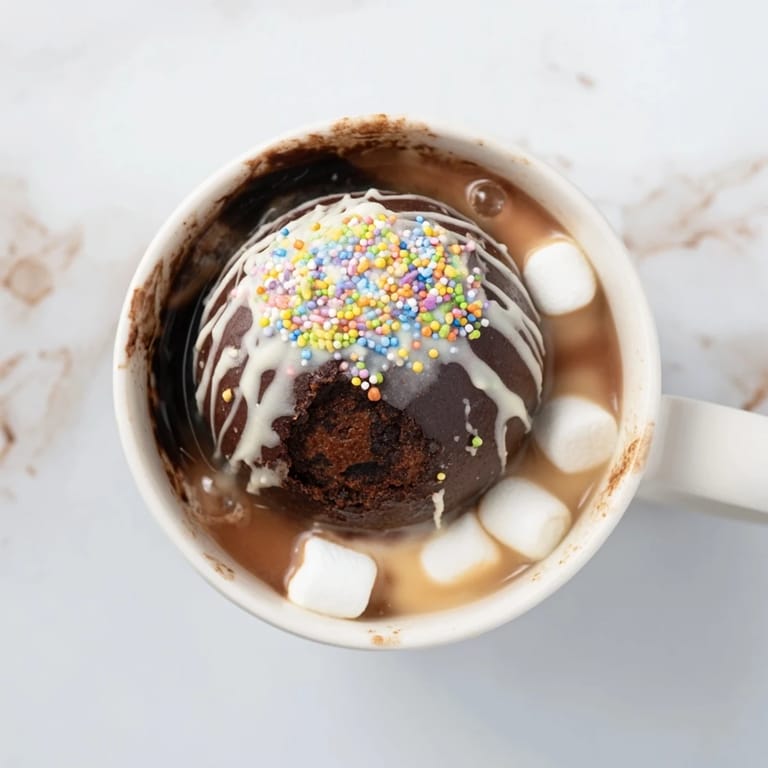
- Drizzle with white chocolate and add sprinkles if you like. To use, drop one bomb into a mug and pour very hot milk over it, stirring as it melts into a creamy, dreamy drink.
 Save to Pinterest
 The first time I served these at a family gathering, my nephew refused to drop his into the milk because he thought it was too pretty to destroy. He held it in his hands for a full minute before finally letting it go, and then he watched, mesmerized, as the chocolate cracked open and the marshmallows floated up. He asked if we could make them together next time, and now it's become our thing every December.
Choosing Your Chocolate
I've tried everything from fancy Belgian bars to standard grocery store chocolate, and honestly, the mid-range stuff works beautifully as long as it melts smoothly. Dark chocolate gives a more sophisticated, less sweet result, while milk chocolate makes it taste like the hot cocoa you had as a kid. You can even mix the two if you can't decide, which is what I do most of the time now.
Flavor Twists
Once you've mastered the basic version, start playing around with the filling. A pinch of cinnamon or a tiny bit of chili powder adds warmth and surprise. Crushed peppermint candies turn them into a holiday treat. I've even tucked in a few caramel chips, which melt into the milk and make it taste like a candy bar.
Storage and Gifting
These keep beautifully in an airtight container at room temperature for up to two weeks, though they rarely last that long in my house. I wrap them individually in clear cellophane and tie them with ribbon when I'm giving them as gifts. They stack neatly in a box, and people are always thrilled to receive something homemade that looks this polished.
- Keep them out of direct sunlight or they'll soften and lose their shape.
- If you live somewhere warm, store them in the fridge and let them come to room temperature before serving.
- Label them with simple instructions so recipients know to use hot milk, not water, for the best result.
 Save to Pinterest
 There's something deeply satisfying about handing someone a chocolate sphere and watching them experience that little moment of wonder when it melts open. It's a small gesture that feels generous and a little bit magical, every single time.
Recipe Questions & Answers
- → What type of chocolate works best for the shells?
High-quality dark or milk chocolate works best, as it sets firmly and creates smooth shells. A blend of both varieties offers richer flavor. Avoid chocolate chips, which contain additives that affect texture.
- → Can I make these ahead of time?
Yes, chocolate bombs store beautifully in airtight containers at room temperature for up to two weeks. They're ideal for preparing in advance for parties or as gifts.
- → How do I prevent the shells from cracking when sealing?
Warm the rims gently on a plate in the microwave to create a slight melt, then press the halves together quickly and firmly. This allows them to bond without cracking. Practice with the first bomb to perfect your technique.
- → What can I substitute for mini marshmallows?
Flavored marshmallows, crushed peppermint candies, white chocolate chips, or even crushed cookies work well. Ensure substitutes are small enough to fit comfortably inside the shell.
- → Why is the second layer of chocolate important?
The second chocolate layer adds structural integrity, preventing the shells from breaking during unmolding or when hot milk is poured. A single layer may be too fragile to handle safely.
- → How hot should the milk be when serving?
Use very hot milk (just below boiling, around 180-200°F) to ensure the chocolate shell melts completely and the cocoa powder fully dissolves, creating a smooth, creamy beverage.