 Save to Pinterest
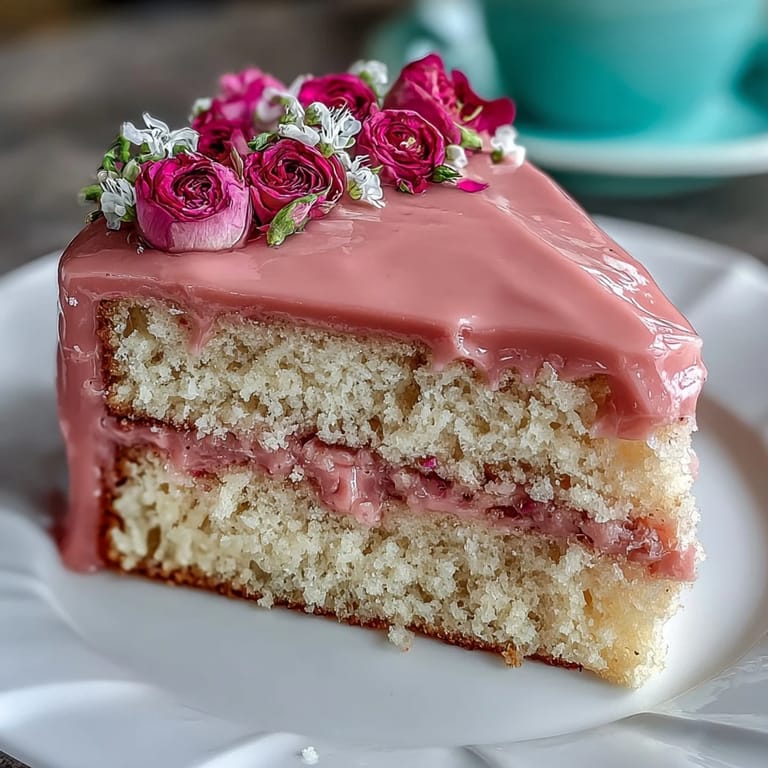
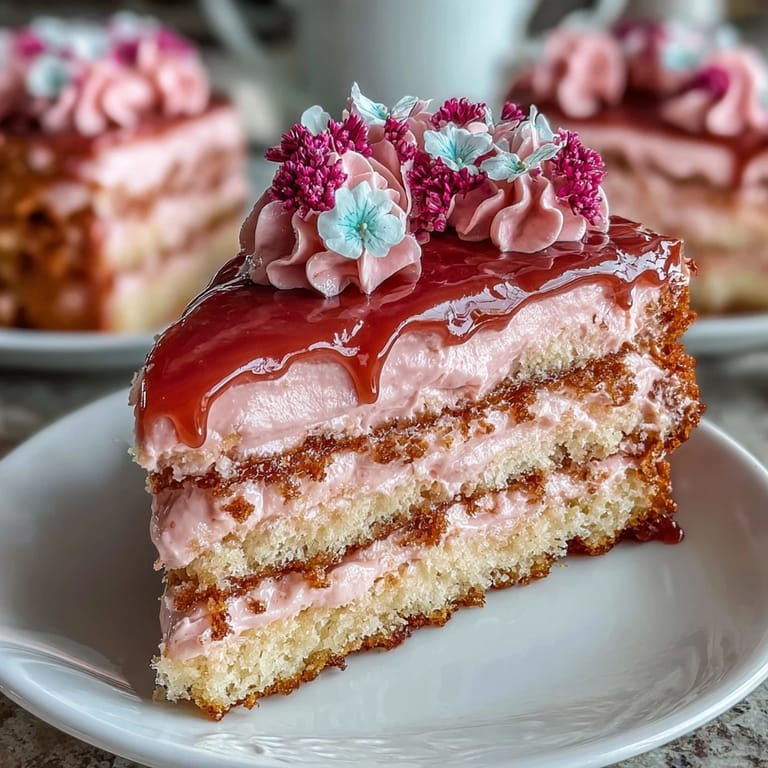
 My sister called me three weeks before Mother's Day in a mild panic—she'd volunteered to bring dessert to our family brunch but wanted something that looked like she'd spent all morning in a professional bakery. I suggested this pink ombre cake, and what started as a favor became my favorite project of that spring. The first time I mixed those buttercream shades, watching pale pink deepen to rosy to nearly magenta, I understood why she'd been nervous: it needed to look effortless but feel intentional, delicate but generous.
My neighbor stopped by while I was setting edible violets on top of the cake, and she just stood there watching, quiet for a moment, then said it looked like something you'd want to preserve in a photograph before eating it. That's when I realized this recipe does something beyond feeding people—it makes them pause and notice the care involved, which is exactly what celebrating someone should feel like.
Ingredients
- All-purpose flour (2 ½ cups): The foundation of a tender crumb; measure by spooning into your measuring cup rather than scooping, which packs the flour and can make the cake dense.
- Baking powder (2 ½ tsp): Gives the cake its lift without requiring extra beating, so you won't overdevelop the gluten.
- Salt (½ tsp): Brightens vanilla flavor and balances the sweetness in ways you won't consciously taste but will definitely notice if it's missing.
- Unsalted butter (1 cup for cake, 1 ½ cups for frosting): Room temperature is non-negotiable—cold butter won't cream properly, warm butter makes the batter greasy.
- Granulated sugar (2 cups): Creates structure and helps the cake stay moist; don't skip the creaming step, as it incorporates air that gives the cake its tender texture.
- Large eggs (4): Room temperature eggs incorporate smoothly and create a more stable batter than cold ones straight from the fridge.
- Pure vanilla extract (1 tbsp for cake, 2 tsp for frosting): Pure extract matters here; imitation will taste tinny against the delicate flavors.
- Whole milk (1 cup): Added in alternation with flour to keep the batter from becoming tough; room temperature prevents temperature shock to the batter.
- Powdered sugar, sifted (5 cups): Sifting removes lumps that would otherwise appear as grittiness in your buttercream no matter how long you beat it.
- Milk or heavy cream (2-3 tbsp): Adjusts the frosting consistency; milk makes it lighter, heavy cream makes it richer and more stable.
- Pink gel food coloring: Gel coloring gives vibrant shades without watering down the buttercream like liquid coloring does.
- Edible flowers: Violets, pansies, and rose petals work beautifully; source from a specialty grocer or grow them yourself if you want to know exactly where they've been.
Tired of Takeout? 🥡
Get 10 meals you can make faster than delivery arrives. Seriously.
One email. No spam. Unsubscribe anytime.
Instructions
- Set yourself up for success:
- Preheat your oven to 350°F and grease three 8-inch round pans with butter, then line the bottoms with parchment paper—this step takes two minutes and saves you from demolished cake layers. Gather your ingredients and let everything that needs to be room temperature sit out while you prep.
- Build the dry mixture:
- Whisk flour, baking powder, and salt together in a medium bowl until the baking powder is evenly distributed. This gentle whisking incorporates air and ensures your leavening is consistent throughout.
- Cream butter and sugar:
- Beat softened butter with granulated sugar for 3 to 4 minutes until the mixture is pale, fluffy, and noticeably lighter in color—this is where the cake gets its tender crumb. Scrape down the bowl halfway through.
- Incorporate eggs and vanilla:
- Add eggs one at a time, beating well after each addition so they fully emulsify into the butter mixture; add vanilla extract with the last egg. If the batter looks slightly curdled, don't worry—it will come together once you add the flour.
- Alternate your additions:
- Add the flour mixture in three parts, alternating with milk in two parts, starting and ending with flour—this technique prevents overmixing and keeps the batter tender. Stir until just combined; lumps are fine and actually preferable to overworking the batter.
- Fill your pans:
- Divide batter evenly among the three prepared pans, using a kitchen scale if you want absolutely even layers. Smooth the tops with an offset spatula so they bake evenly.
- Bake with confidence:
- Bake for 25 to 30 minutes until a toothpick inserted in the center comes out clean or with just a few moist crumbs. The cakes should be golden around the edges and spring back when lightly touched.
- Cool properly:
- Let cakes cool in the pans for exactly 10 minutes, then turn them out onto wire racks to cool completely—this timing prevents them from breaking apart while still allowing them to release cleanly. Don't rush this step.
- Prepare the buttercream base:
- Beat room-temperature butter on high speed for 2 to 3 minutes until it's pale and creamy with no visible lumps. Gradually add sifted powdered sugar on low speed to minimize powdered sugar flying everywhere, then increase to high speed and beat for 3 minutes until fluffy.
- Add moisture and flavor:
- Pour in vanilla extract and milk, then beat on high for another minute until the frosting reaches a spreadable consistency. If it's too thick, add a tiny bit more milk; if too thin, add more powdered sugar.
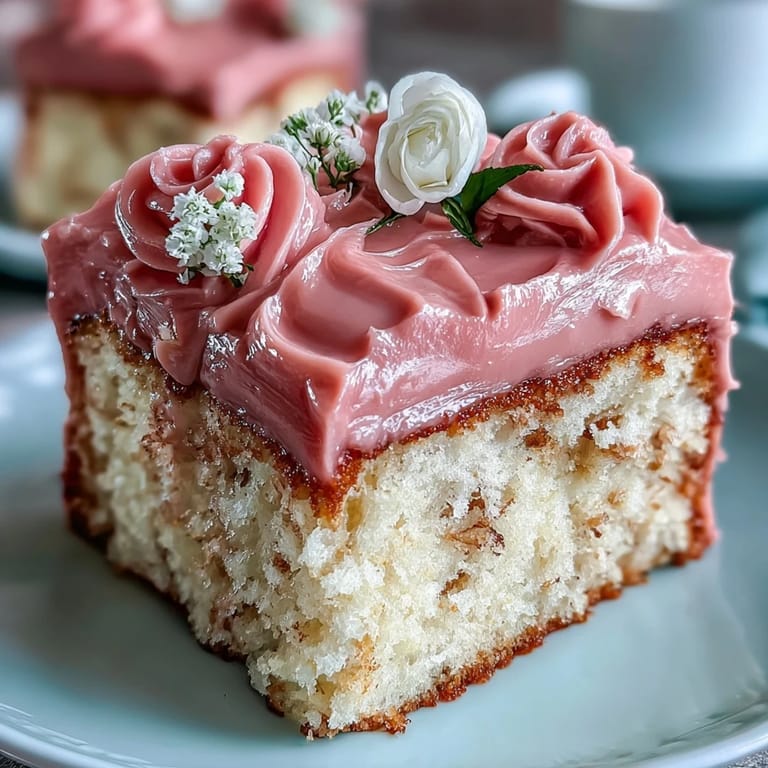
- Create your ombre effect:
- Divide buttercream into four equal bowls—one stays white, and you'll tint the other three with increasing amounts of gel food coloring, starting with just a toothpick's worth. Mix each shade thoroughly, testing the color on a white plate as you go.
- Build and frost the cake:
- Place the first cake layer on your serving plate or cake board, then spread the darkest pink buttercream on top. Stack the second layer and spread medium pink frosting, then top with the final layer.
- Crumb coat and final frost:
- Spread a thin layer of remaining white buttercream all over the cake to seal in crumbs, chill for 15 minutes, then apply your final frosting layer, using darker pink on top and lighter shades on the sides for the ombre effect. Use an offset spatula to smooth everything, or drag a bench scraper around the sides to blend the colors.
- Add the finishing touch:
- Decorate with edible flowers just before serving, arranging them in a way that feels natural rather than too neat. Chill the finished cake for at least 30 minutes so the frosting firms up and slices come out clean.
 Save to Pinterest
 On Mother's Day, watching my sister cut into that cake and seeing three perfect layers with the ombre buttercream catching the light, I realized the real gift wasn't the cake itself but the fact that she could take something that looked complicated and have it turn out beautiful. That's what this recipe does—it makes you feel capable of creating something that matters.
Leveling Your Cake Layers
If your cake layers dome on top (which they often do), you can level them with a serrated knife or cake leveler once they're completely cool, turning a slightly imperfect bake into something perfectly flat for stacking. I've also seen people take the domed top layer and place it dome-side down on the frosting, which hides any unevenness and actually makes assembly easier. Either way, don't stress about perfection—even slightly uneven layers taste just as good, and the frosting hides everything.
Simple Syrup Brush Tip
Brushing cooled cake layers with simple syrup (equal parts water and sugar, heated until sugar dissolves, then cooled) before frosting adds moisture and flavor that keeps the cake tender even days later. Make it the night before if you want—a light brush, not a soak, is all you need, and vanilla simple syrup pairs perfectly with this flavor profile. I learned this trick when a cake had been sitting in the fridge for two days and still tasted fresh, which convinced me it's worth the extra minute.
Storing and Serving
This cake keeps beautifully in the refrigerator for three to four days covered loosely with plastic wrap, and the frosting actually stays silkier when cold than at room temperature. Let it sit out for 20 minutes before serving so the cake softens slightly and the flavors come through more clearly. For the cleanest slices, use a sharp knife dipped in hot water and wiped dry between cuts.
- If you're making this ahead, frost it completely the night before and decorate with flowers the morning of serving for maximum freshness.
- Transport the cake in a cake box rather than trying to balance it on a plate; the stability matters more than you'd think on bumpy roads.
- This cake pairs beautifully with sparkling rosé or even a light champagne, turning dessert into a small celebration of its own.
 Save to Pinterest
 This cake has become my go-to for anyone I want to celebrate, not just mothers—it's the kind of dessert that says you cared enough to spend time creating something beautiful. Every time someone cuts into it and sees those ombre layers, I know the effort was worth it.
Recipe Questions & Answers
- → How is the pink ombre effect achieved?
By dividing the buttercream into portions and tinting each with increasing amounts of pink food coloring, then layering from darkest to lightest shades.
- → What type of flowers can be used for decoration?
Edible flowers like violets, pansies, and rose petals are ideal; non-edible toppers should be removed before serving.
- → Can the cake layers be prepared ahead of time?
Yes, baking the vanilla sponge layers in advance and storing them wrapped helps streamline assembly on the day of serving.
- → What is the purpose of brushing simple syrup on the layers?
It adds extra moisture and enhances flavor, keeping the sponge tender after frosting.
- → Why chill the cake before slicing?
Chilling firms the buttercream, allowing cleaner cuts and maintaining the cake’s structural integrity.