 Save to Pinterest
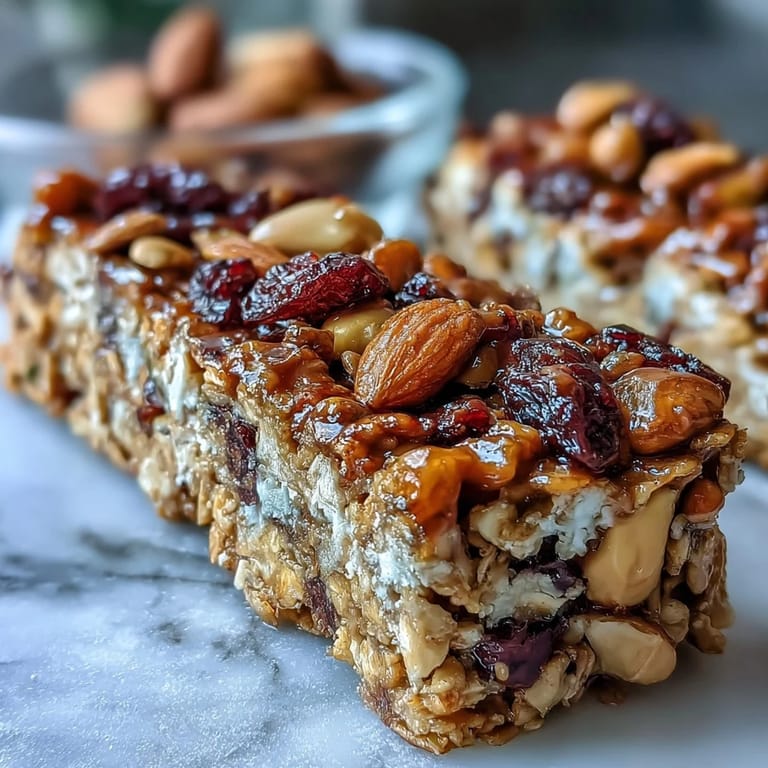
 Last summer, my hiking buddy showed up with these homemade granola bars wrapped in foil, and I ate three before we even reached the trail. She'd made them the night before while watching a movie, no oven required, just a quick chill in the fridge. That's when I realized how ridiculously easy they were to throw together, and why she'd become the friend everyone invites on outdoor adventures. Now I make a batch whenever I need something that tastes indulgent but actually fuels you through the afternoon slump.
I brought these to a potluck last fall and watched them disappear faster than the homemade brownies, which honestly felt like a small victory. Someone asked for the recipe right there, and I realized that sometimes the simplest things—no mixer, no oven, just your hands and a pan—are what people actually want to make. That moment stuck with me because it's rare to feel proud of something so effortless.
Ingredients
- Old-fashioned rolled oats (2 cups): These are your backbone and they stay chewy instead of turning mushy, unlike instant oats which I learned the hard way tend to disappear into mush.
- Crisp rice cereal (1 cup): This adds a subtle crunch and helps everything hold together without needing an egg or binder.
- Mixed nuts (1/2 cup, chopped): Almonds, walnuts, or pecans all work beautifully, and toasting them first makes them taste richer if you have time.
- Dried fruit (1/2 cup): Cranberries, raisins, or apricots bring natural sweetness and chewy texture, and chopping them smaller means they distribute better throughout.
- Unsweetened coconut (1/4 cup, optional): If you use it, it adds a subtle flavor that doesn't overpower, though leaving it out works just fine.
- Salt (1/4 teaspoon): This tiny amount makes everything taste more intentional and balances the sweetness perfectly.
- Honey or maple syrup (1/2 cup): These are your binder and sweetener in one, and honey gives a slightly different texture than syrup so pick based on what you have.
- Peanut butter or almond butter (1/3 cup, creamy): Creamy is important here because chunky won't mix as smoothly, and it adds richness that holds everything together.
- Vanilla extract (1 teaspoon): Just enough to make people wonder what they're tasting.
- Mini chocolate chips or chia seeds (optional): Either adds a little something extra if you want it, and chocolate chips need to go in after cooling so they don't turn to liquid.
Tired of Takeout? 🥡
Get 10 meals you can make faster than delivery arrives. Seriously.
One email. No spam. Unsubscribe anytime.
Instructions
- Line your pan like you mean it:
- Use parchment paper with overhang so you can lift the whole batch out later—this is the one step that saves you from frustration. Trust me, trying to scrape them out without it is not fun.
- Combine everything dry:
- Toss the oats, rice cereal, nuts, dried fruit, coconut, and salt into a big bowl and mix so nothing feels isolated. You'll notice how varied the textures already are, which is exactly what makes them interesting to eat.
- Warm the sticky part:
- In a small saucepan over low heat, stir the honey and peanut butter together until it's smooth and pourable, about two to three minutes. Then pull it off the heat and stir in vanilla so the heat doesn't cook it off.
- Bring it all together:
- Pour that warm golden mixture over your dry ingredients and stir like you're making sure every oat gets a kiss of sweetness. This is the moment where it starts feeling like actual bars instead of separate ingredients.
- Handle chocolate carefully:
- If you're adding chocolate chips, let the mixture cool for a couple minutes first so they don't melt into puddles. Then fold them in gently so they stay whole.
- Press and set:
- Scoop everything into your prepared pan and press down firmly with a spatula or the bottom of a measuring cup so they'll stay together when you cut them. Don't be shy—compression is your friend here.
- Top if you're feeling fancy:
- Sprinkle extra chocolate chips or nuts on top and press them in gently so they stick. This is optional but it does make them look like you knew what you were doing.
- Chill until firm:
- At least an hour in the fridge, though overnight is even better because they set more completely. You'll know they're ready when they feel solid instead of squishy.
- Cut and store:
- Use the parchment to lift them out, then cut into 12 bars with a sharp knife, wiping the blade between cuts if it gets sticky. Store them in an airtight container in the fridge for up to a week, though they rarely last that long.
 Save to Pinterest
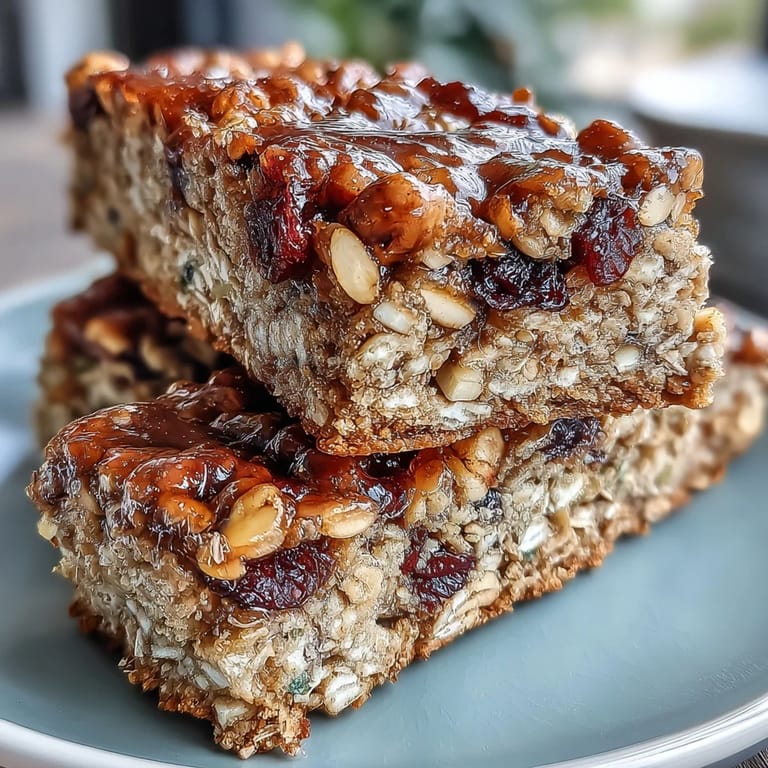
 There's something quiet and nice about wrapping these up in wax paper and tucking them into a lunch box or backpack, knowing you've made something wholesome that actually tastes good. It feels less like cooking and more like taking care of yourself in the nicest possible way.
Why These Bars Beat Store-Bought
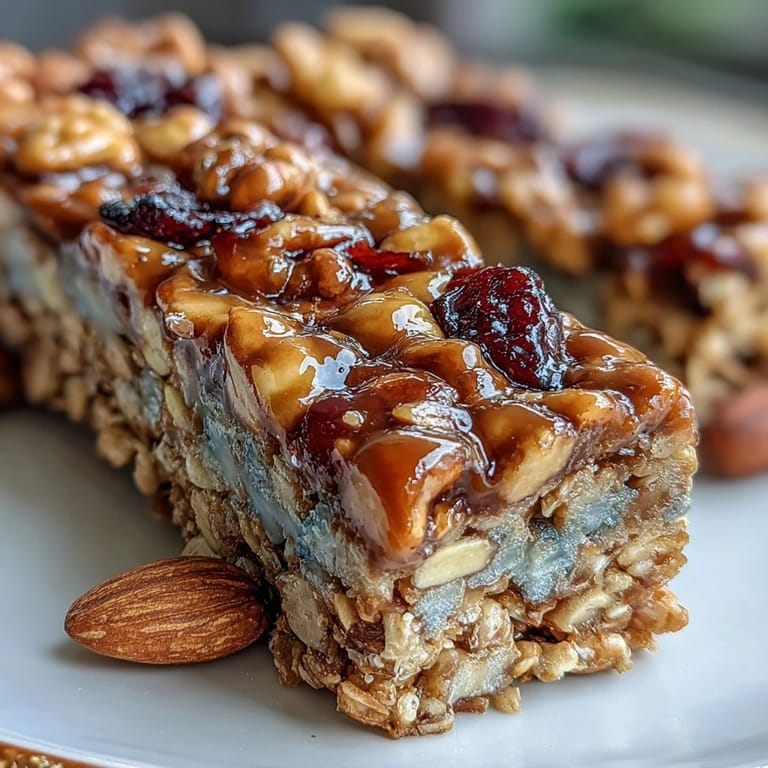
Commercial energy bars often taste waxy or too sweet, and you can feel when they're held together by mystery ingredients. These taste like actual food because they basically are actual food—just oats, nuts, and honey pressed together in a pan. The texture stays naturally chewy instead of becoming rock-hard in your backpack, and you know exactly what went into every bite.
Customization Ideas That Work
The beauty of this recipe is how easily it adapts to whatever you have on hand or whatever you're craving that week. I've made versions with cardamom and cinnamon, switched pecans for walnuts, used dried mango instead of cranberries, and even stirred in a handful of coconut flakes right at the end. Once you see how forgiving the formula is, you'll stop thinking of it as a single recipe and start thinking of it as your framework for whatever bar sounds good today.
Making Them Work for Different Diets
If you're cooking for friends with dietary restrictions, these bars adapt beautifully without feeling like a compromise. For nut-free versions, sunflower seed butter works perfectly and tastes almost identical to peanut butter in the binding department. For vegan, just use maple syrup and dairy-free chocolate chips and you're done. For gluten-free, grab certified oats and rice cereal and nobody will taste any difference.
- Nut-free: swap peanut butter for sunflower seed butter and use seeds instead of nuts for crunch.
- Vegan: use maple syrup and dairy-free chocolate chips, and everything else is already plant-based.
- Gluten-free: choose certified oats and gluten-free rice cereal and the bars turn out exactly the same.
 Save to Pinterest
 Make these once and you'll understand why they became my go-to gift and my constant hiking companion. They're the kind of recipe that proves you don't need fancy equipment or hours in the kitchen to make something genuinely worth eating.
Recipe Questions & Answers
- → What nuts work well in these bars?
Mixed nuts like almonds, walnuts, and pecans blend well, offering crunch and flavor. You can adjust based on preference or allergies.
- → Can I substitute the sweetener?
Yes, honey or maple syrup both provide natural sweetness and help bind the ingredients effectively.
- → How do I keep the bars from sticking to the pan?
Lining the pan with parchment paper and allowing the bars to chill fully before cutting helps prevent sticking.
- → Are these bars gluten-free?
Use certified gluten-free oats and rice cereal to keep the bars gluten-free. Otherwise, they may contain gluten.
- → Can I add chocolate chips without melting?
Allow the warm mixture to cool slightly before stirring in chocolate chips to avoid melting and ensure defined pieces.