 Save to Pinterest
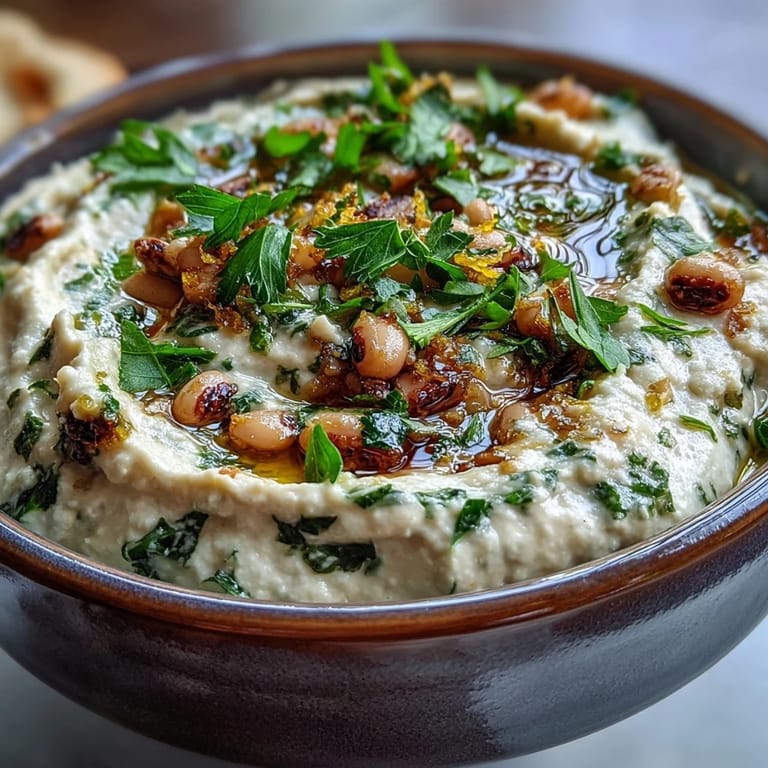
 My neighbor showed up at a backyard gathering with a bowl of smashed black-eyed peas, and I watched people come back for it three times without even realizing what they were eating. There's something almost magical about how a simple legume transforms into something so creamy and inviting with just olive oil, lemon, and a little elbow grease. That afternoon, I decided I needed to master this—partly because I was curious, partly because I wanted to recreate that moment when someone's eyes light up at their first bite.
I made this for a weeknight dinner when I wanted something hearty but didn't feel like cooking. My partner took one bite and said it tasted like something from a Mediterranean restaurant, which became the moment I realized how much depth a few simple ingredients could create together.
Ingredients
- Black-eyed peas: Use canned and drained for convenience, or cook dried ones if you have the time—they'll taste fresher and you'll control the texture.
- Extra-virgin olive oil: This is where quality matters because it's tasted straight, so don't skimp on a decent bottle.
- Fresh lemon juice: Bottled juice loses that bright punch, so squeeze it yourself if you can.
- Garlic: Mince it fine so it distributes evenly and doesn't leave sharp bits that surprise you mid-bite.
- Sea salt and black pepper: Season gradually because you can always add more but you can't take it back.
- Cumin: Optional but worth adding—it whispers warmth without shouting.
- Fresh parsley: A small garnish that transforms the presentation from humble to intentional.
Tired of Takeout? 🥡
Get 10 meals you can make faster than delivery arrives. Seriously.
One email. No spam. Unsubscribe anytime.
Instructions
- Gather and combine:
- Pour your drained peas into a bowl with the minced garlic, and take a moment to smell them together—that's when you know good things are about to happen.
- Build the base:
- Drizzle in the olive oil, lemon juice, and zest, then add your seasonings all at once so nothing gets missed.
- Mash to texture:
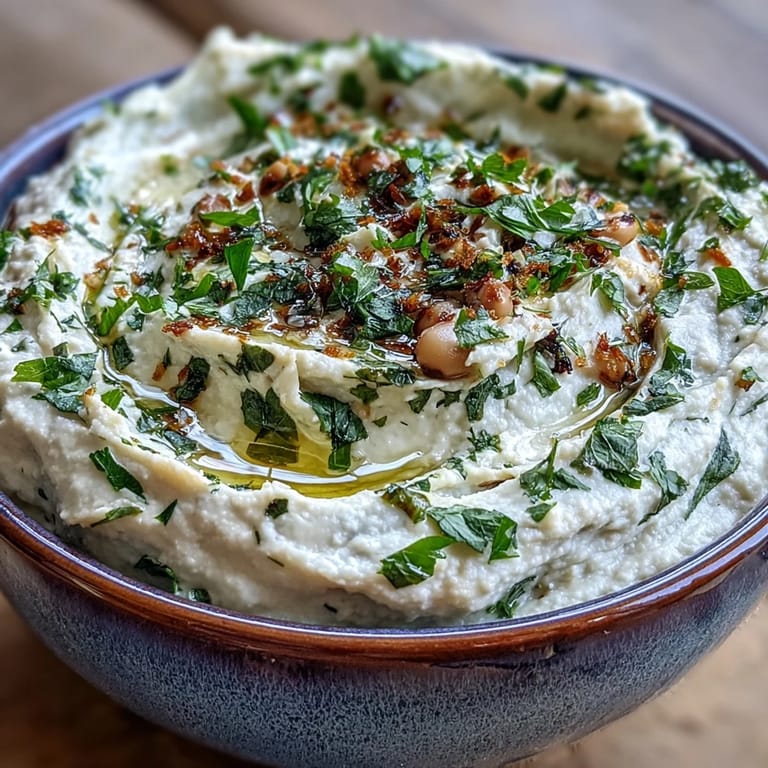
- Use a potato masher or fork to break down the peas until you've got something creamy but still recognizably chunky—this texture is what makes it feel homemade, not processed.
- Taste and adjust:
- Take a spoon, try it, and think about what it needs: maybe more lemon brightness, maybe more salt to bring everything into focus.
- Plate with intention:
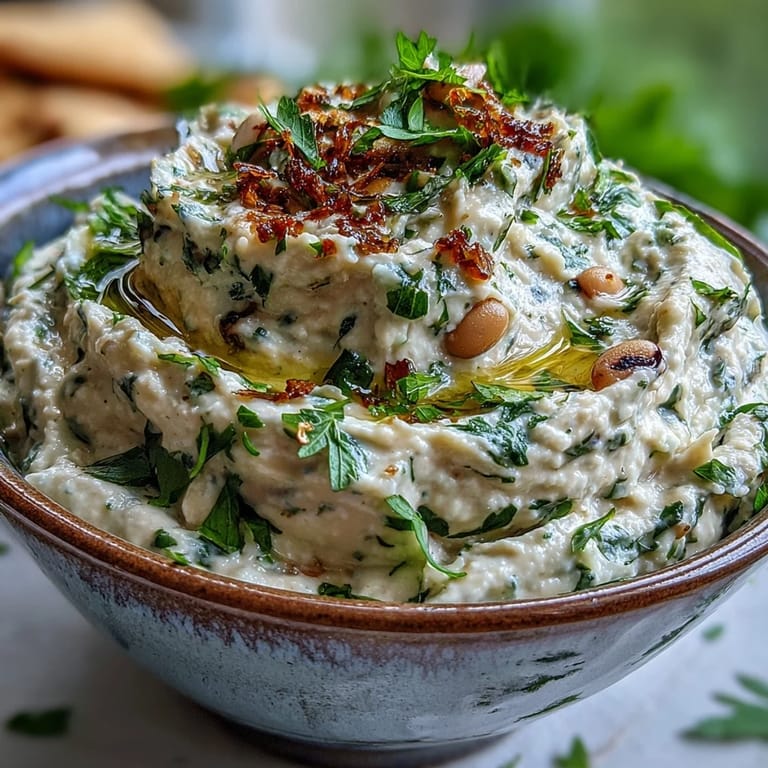
- Transfer to a serving bowl and finish with a drizzle of excellent olive oil and a scatter of parsley, which costs nothing but makes it look like you planned this carefully.
 Save to Pinterest
 I brought this to a potluck where everyone was tired and skeptical about another legume dish, and by the end of the night it was gone and people were asking for the recipe. That's when I understood that sometimes the simplest food becomes the most memorable because it doesn't pretend to be anything other than what it is.
When to Serve This
This dip bridges seasons and meals in a way that feels natural—it's equally at home on a summer table with fresh vegetables as it is alongside roasted meats in cooler months. I've learned that having it in the fridge means you're always three minutes away from an impressive snack plate, which has saved me more than once when people stopped by unexpectedly.
Variations Worth Trying
Once you nail the basic version, you'll start experimenting—I've added roasted red peppers, a pinch of smoked paprika, even a touch of tahini when I wanted something creamier without using dairy. The beauty of this recipe is that it's a foundation, not a rule book, so your kitchen failures and happy accidents only make it more interesting.
Storage and Make-Ahead Magic
This dip actually tastes better the next day after the flavors have had time to get to know each other, so making it ahead isn't just convenient—it's strategic. Keep it covered in the fridge for up to four days and bring it back to room temperature before serving, or reheat gently if you prefer it warm.
- A thin layer of olive oil on top keeps it from drying out and looks intentional in the fridge.
- Taste it again before serving because cold dulls flavors, so you might need to add a little salt or lemon juice to wake it up.
- If it's thicker than you want, loosen it with a splash of olive oil or warm water, stirring until it reaches the texture you're after.
 Save to Pinterest
 This recipe proved to me that the most delicious moments in cooking come from respecting simple ingredients and not overthinking them. Make it once and you'll understand why it keeps getting requested.
Recipe Questions & Answers
- → What texture should smashed black-eyed peas have?
The ideal texture is mostly smooth but still slightly chunky. Use a potato masher or fork to mash until the peas break down but retain some pieces for body. For a completely creamy dip, use a food processor instead.
- → Can I serve this warm or cold?
This dish shines at room temperature, but serving it warm enhances the garlic and olive oil flavors. If refrigerating, let it sit for 20 minutes before serving to allow flavors to bloom again.
- → What goes well with smashed black-eyed peas?
Pair with grilled chicken, lamb, or fish for a complete meal. Serve alongside roasted vegetables, fresh pita, crackers, or crusty bread. The bright lemon profile complements Mediterranean and Southern dishes beautifully.
- → How long do leftovers keep?
Store in an airtight container in the refrigerator for up to 4 days. The flavors deepen over time. Drizzle fresh olive oil before serving leftovers to restore creaminess.
- → Can I use dried black-eyed peas instead of canned?
Absolutely. Cook 1 cup dried peas according to package directions until tender, then drain well. Freshly cooked peas often yield better flavor and texture than canned varieties.